Automate Your Blog Writing with OpenAI: A Step-by-Step Guide
In the fast-paced world of content creation, efficiency is key. If you’re a blogger or content creator who frequently writes articles, you know how time-consuming it can be to generate fresh, unique content consistently. Fortunately, automation tools like OpenAI can help streamline this process, allowing you to focus on other important aspects of your work. In this blog post, we’ll explore how to automate the creation of 100 unique articles using OpenAI, Google Sheets, and WordPress. This guide will walk you through the steps to set up this automation, ensuring you can generate and post content effortlessly. Of course you need Pabbly connect!
Why Automate Your Blog Writing?
Before diving into the technical details, let’s discuss why you might want to automate your blog writing. Automation can save you a significant amount of time and effort. By leveraging artificial intelligence, you can generate high-quality content quickly, freeing up your time to focus on strategy, promotion, and other creative tasks. Additionally, automation ensures consistency in your content output, which is crucial for maintaining audience engagement and growing your blog.
Setting Up the Automation
To set up this automation, you’ll need three main tools: Google Sheets, OpenAI, and WordPress. Here’s a step-by-step guide to get you started:
Step 1: Prepare Your Google Sheet
First, create a Google Sheet where you’ll list the titles of the articles you want to generate. Each row in the sheet will represent a new article. For this example, let’s assume your Google Sheet has three columns: Title, Slug, and Blog Link.
- Title: The title of your blog post.
- Slug: A URL-friendly version of your title.
- Blog Link: The link to the published blog post (this will be updated automatically).
Step 2: Connect Google Sheets to Pabbly Connect
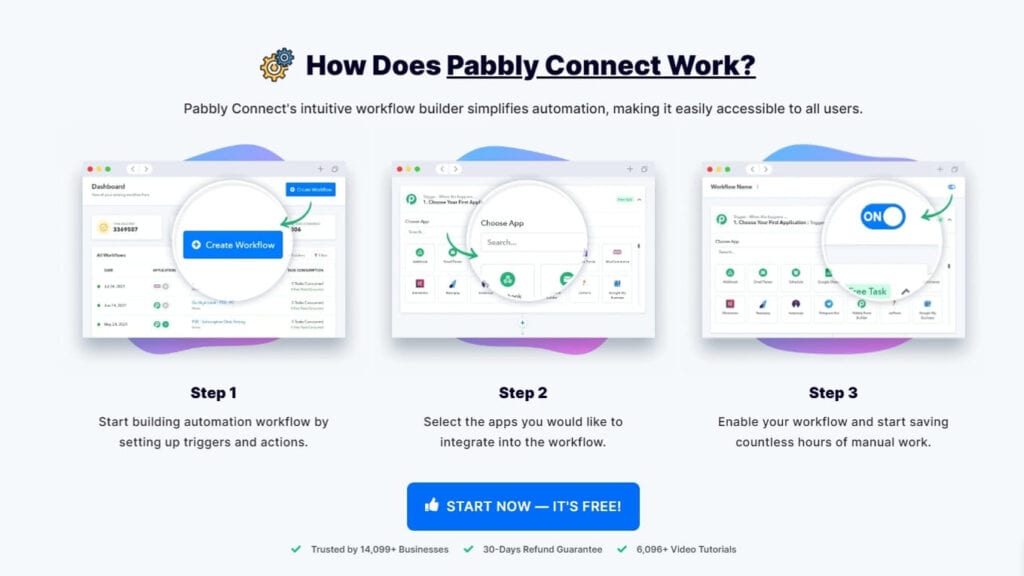
Pabbly Connect is an automation tool that will help you link Google Sheets, OpenAI, and WordPress. Sign up for a free account on Pabbly Connect and create a new workflow.
- Create Workflow: Name your workflow (e.g., “Google Sheets to OpenAI to WordPress”).
- Trigger: Set Google Sheets as the trigger app and select “New or Updated Spreadsheet Row” as the trigger event.
- Webhook URL: Pabbly Connect will provide a webhook URL. Copy this URL.
Step 3: Set Up Google Sheets Webhook
In your Google Sheet, go to Extensions Add-ons Get Add-ons and search for “Pabbly Connect Webhooks.” Install the add-on and refresh your Google Sheet.
- Initial Setup: Go to Extensions Pabbly Connect Webhooks Initial Setup.
- Select Sheet: Choose the sheet you want to connect.
- Webhook URL: Paste the webhook URL you copied from Pabbly Connect.
- Trigger Column: Set the trigger column (e.g., Column B for the Slug).
Step 4: Generate Content with OpenAI
Back in Pabbly Connect, add an action step to send the title from Google Sheets to OpenAI.
- Choose App: Select OpenAI.
- Action Event: Choose “Generate Content.”
- Connect OpenAI: Enter your OpenAI API key.
- Prompt: Create a prompt for OpenAI (e.g., “Write a blog on [Title]”).
- Max Tokens: Set the maximum number of tokens (words) for the content.
Step 5: Post to WordPress
Add another action step in Pabbly Connect to create a post on WordPress.
- Choose App: Select WordPress.
- Action Event: Choose “Create a Post.”
- Connect WordPress: Enter your WordPress credentials and base URL.
- Post Details: Map the title and content generated by OpenAI to the respective fields in WordPress.
- Status: Set the post status to “Draft” to review before publishing.
Step 6: Update Google Sheet with Blog Link
Finally, add an action step to update the Google Sheet with the link to the newly created blog post.
- Choose App: Select Google Sheets.
- Action Event: Choose “Update Cell Value.”
- Spreadsheet Details: Select the spreadsheet and sheet, and map the row index and blog link.
Testing the Automation
To ensure everything is set up correctly, test the automation by entering a new blog title in your Google Sheet. Within seconds, OpenAI should generate the content, create a draft post on WordPress, and update the Google Sheet with the blog link.
Conclusion
By following these steps, you can automate the creation and posting of blog content, saving you time and effort. This automation not only streamlines your workflow but also ensures a steady stream of content for your audience. Give it a try and see how it transforms your content creation process!
If you found this guide helpful, don’t forget to share it with others!


